GAMEIN5D - Bigger Inside
  • HOME
  • PROJECTS BLOG
  • GAMEIN5D 101
  • Kick starter
  • CONTACT
  • HOME
  • PROJECTS BLOG
  • GAMEIN5D 101
  • Kick starter
  • CONTACT

The projects

(GAMEIN5D in action)

28mm Ruined Abbey - Part 1

20/4/2018

0 Comments

 
Part 1: The Amera buildings are namely F225 Ruined Chapel and F224 Building Ruins as well as F218 Temple Ruins, F207 Terrace Ruins and three F215 Ruined Walls. They come looking like the image (right) and it’s a very quick job with a sharp knife to remove the parts from the plastic sheet. The parts are thin and one sided, which is great because it keeps them light and although you can definitely use them like
Picture
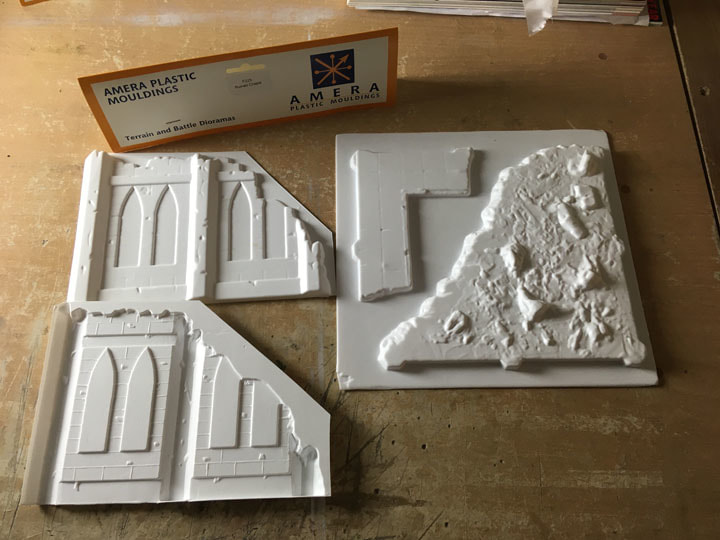
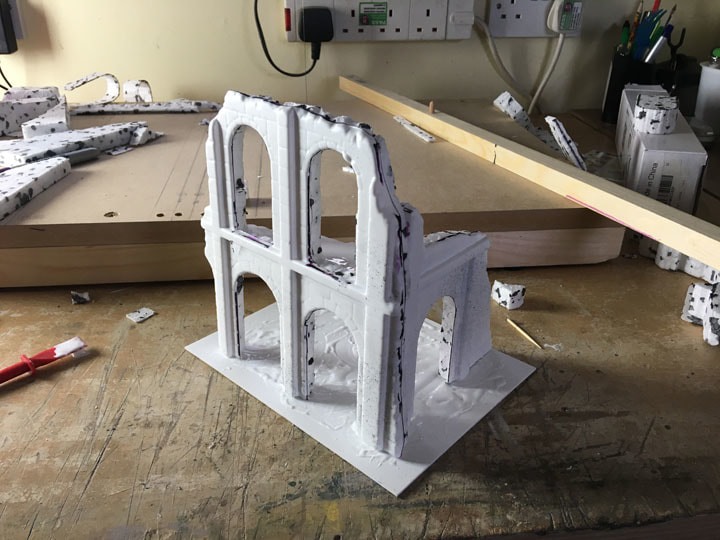
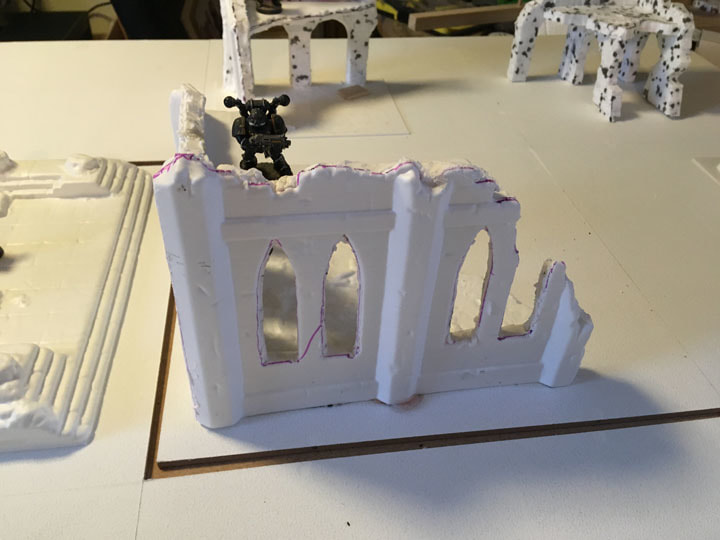
this I like to “pad – out” the walls to make them a more realistic thickness. The picture (above right) is of the Ruined Chapel and this is the biggest element on the board and I thought it would make a great centre-piece for the whole terrain.
Here is the Building Ruin (image right) with all the pieces removed from the main sheet. This model comes with a base which is just a piece of flat plastic - I used it even though I was eventually going to bond it to the board. Waste not, and all that.In order to pad-out the walls I traced around the walls and floor onto some pieces of foam packaging (image below left) and cut them out using my hot wire foam cutter.
Picture
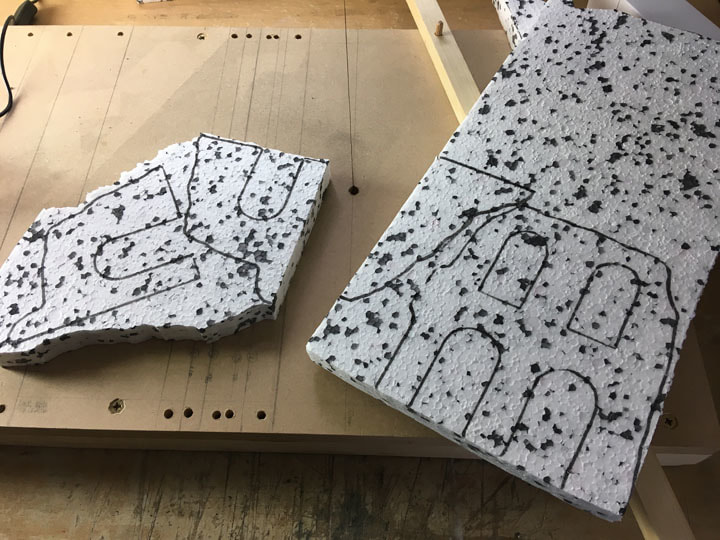
The foam is 25mm thick so when I finished I cut it in half to give two copies about 12.5mm thick. I then made some changes to the second copy to make it even more wrecked (image below right). This will form the basis of a second ruined building.
Picture
Picture
[Going back to the Amera Ruined Building] I then push-fitted the parts and trimmed and cut pieces as necessary so that the original plastic parts and the foam parts all form a
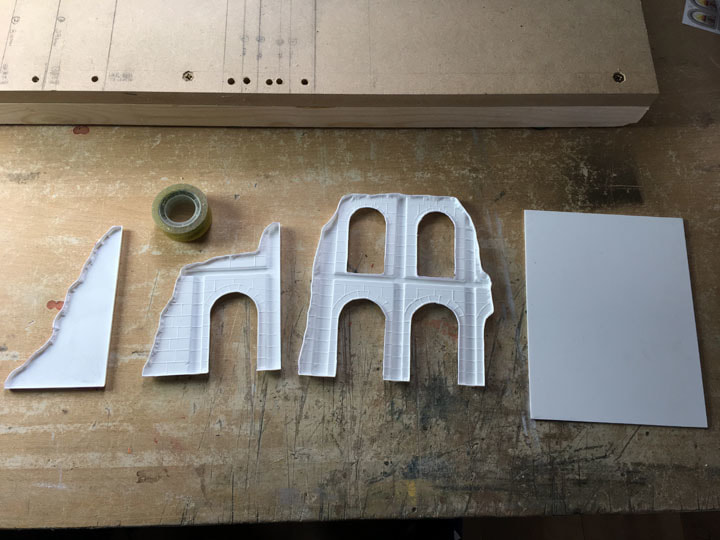
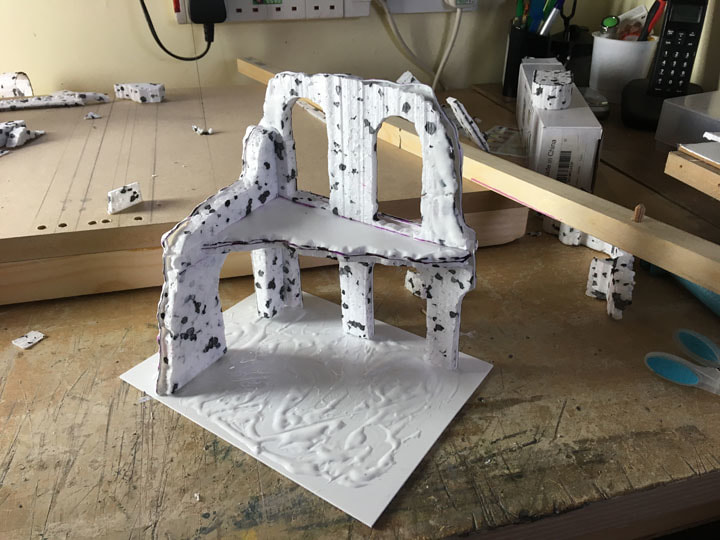
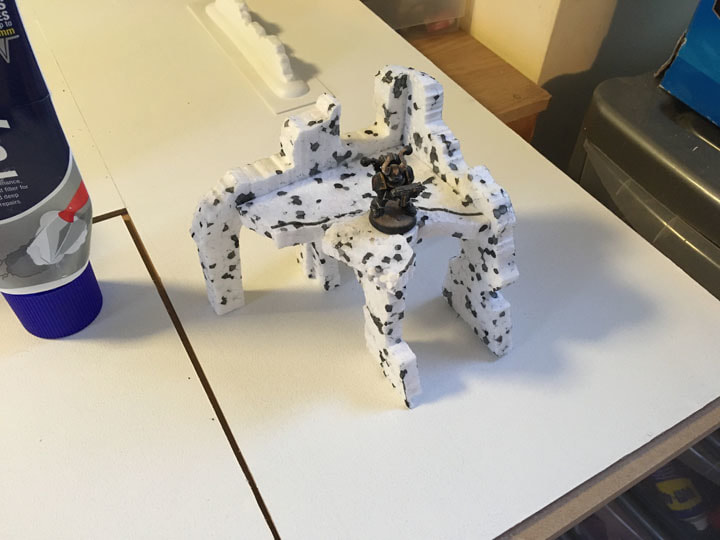
coherent whole. This mostly involves pushing it all together, then it falling apart, going back and trimming some more until it all fits together nicely.
The only tricky bit is cutting a horizontal section from the front and side walls so the floor can fit in. Eventually I got it all to fit and PVA-ed the heck out of it et voila (images right)!
Picture
Picture
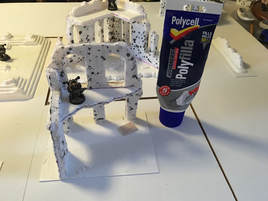
I wasn’t sure how I was going to deal with the base and then I spilled a load of PVA on it anyway so I smeared it out to make the surface a bit bumpy.
Picture
There were some sharp edges where the plastic and foam didn’t marry-up well so I used a foam filler (image left) to fill in any gaps and smooth out any remaining problems. I really like this Polycell stuff, it dries really quickly and you can sand and paint it once it’s dry – it’s great for applications like this (I’ve no idea what it’s like for the DIY purposes it’s probably intended for).
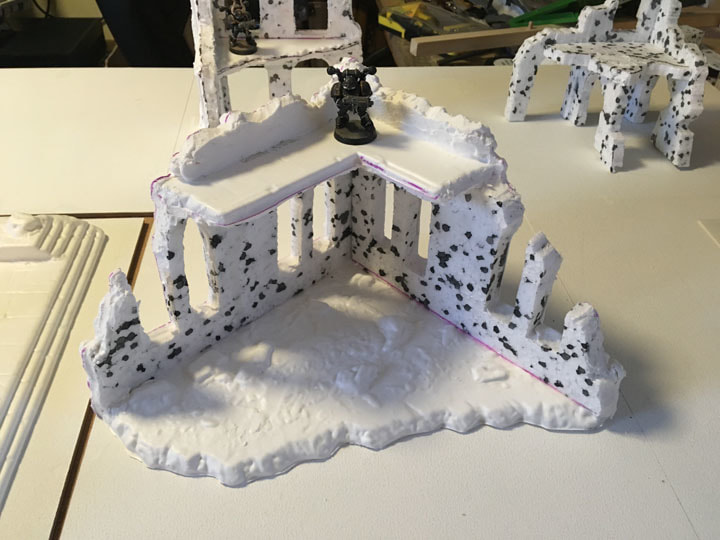
Overall I was pretty happy with how the building turned out at this stage.
I built the Ruined Chapel and filled out the walls in the same way – this model has a much more substantial and detailed base with loads of rubble
Picture
Picture
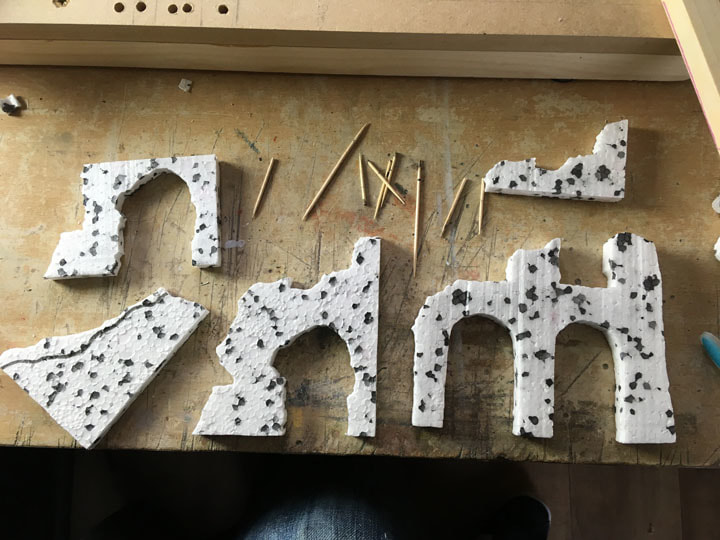
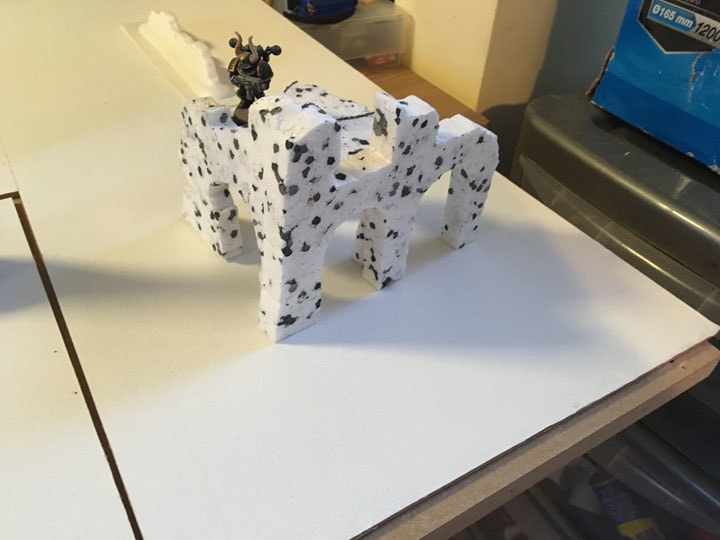
(images above right). At this point I also put together the second lot of foam pieces I cut before. I roughly joined them using tooth picks.
Picture
Picture
The assembled building is shown in the images on the left, a bit blocky and clumsy looking at this stage but as I was making this up as I went along
I was actually OK with how it looked. Certainly it was encouraging enough to try again so I sketched out some designs on foam in a similar style to the Building Ruins I already had. What I didn’t do was take any photos of these stages unfortunately.
So … I think a more detailed look at how I made the foam buildings is best dealt with separately and in more detail somewhere else. In short I cut out my designs using the foam cutter, then assembled them using tooth picks and PVA. I then used the tip of a foam cutting tool to score some brickwork details into the surfaces of the foam. Finally I base-coated the whole thing with Vallejo polyurethane primer.
Picture
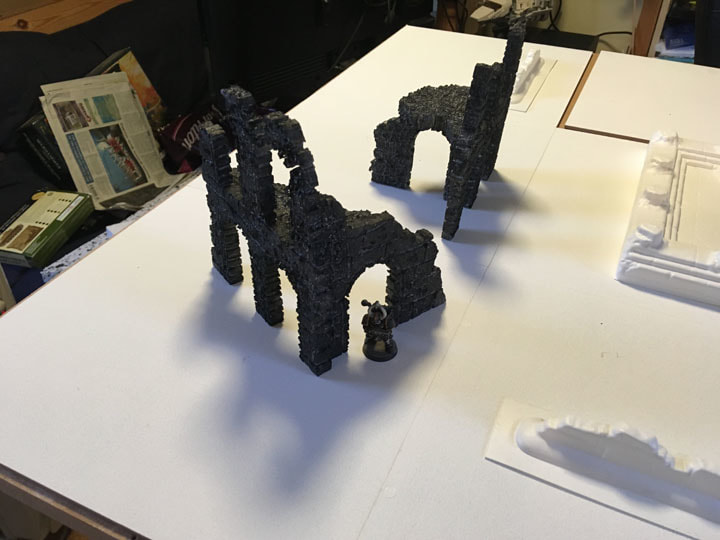
I also tried base-coating with an aerosol primer but it appears that was solvent based and I melted the model – live and learn. I also learned that black is not the best colour for photos as well but here’s (image right) the best picture I have of the buildings. At this point I had all the main building elements, at least, constructed and in a state to go on the board so it was time to move on to Part 2.
0 Comments


Leave a Reply.

    Picture

    Hello, I'm Jon. 

    I'm very much a learner model maker, especially dioramas, gaming surfaces, models and toy boxes for me and my children.

    I also invented the GAMEIN5D base boarding system which I'm trying to develop into something more.

    Archives

    March 2019
    January 2019
    December 2018
    April 2018
    January 2017
    December 2016
    November 2016
    October 2016
    September 2016
    August 2016

    Categories

    All
    28mm Lava Terrain
    28mm Ruined Abbey
    Bases For Miniatures
    Dioramas
    Etc.
    Hello
    North Africa 1
    North Africa 2
    Paint
    Tanks
    Tools
    Z230 Redoubt

    RSS Feed

Powered by Create your own unique website with customizable templates.