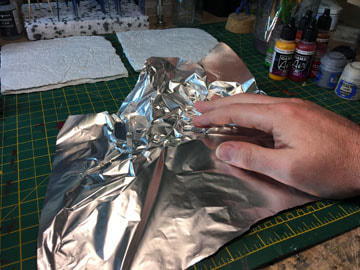
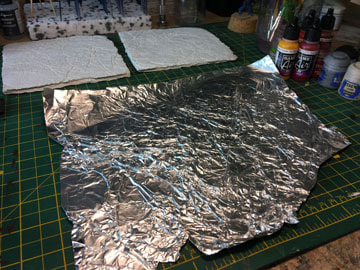
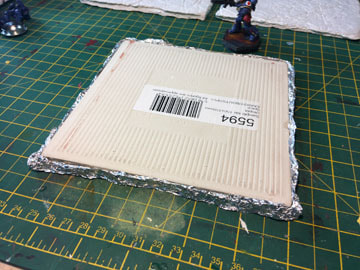
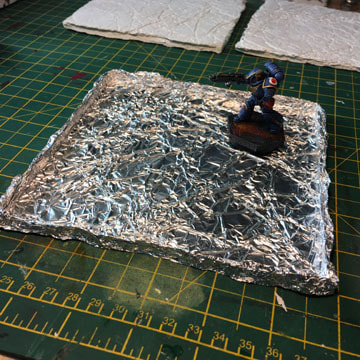
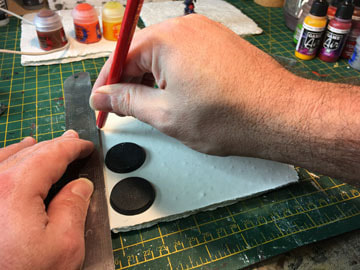
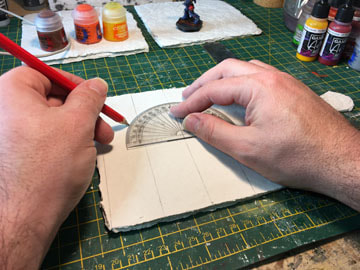
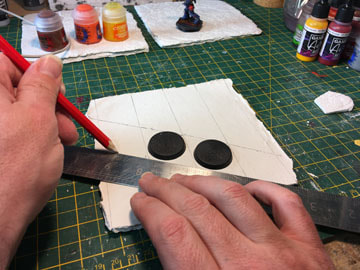
After that, carefully remove the tile (or other suitable rectangular object) and your mould is complete (for that was what we were constructing).
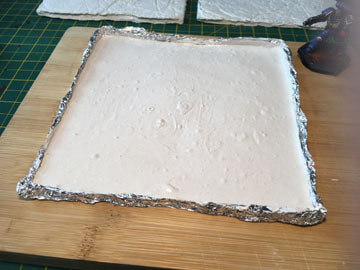
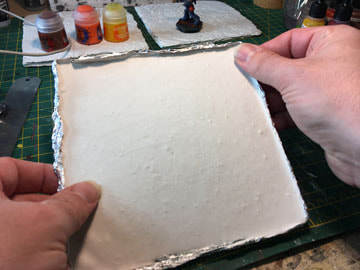
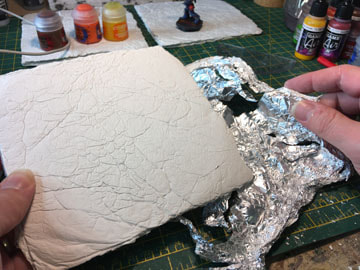
Smooth out the plaster into the corners of the mould and then lift the (chopping) board and drop it a few times so that the plaster settles nice and flat (it's possible that this bit might make more sense if you watch the video). After about an hour the plaster should be set enough to allow you to remove the tin foil and you should have a nice flat piece of plaster. Turn it over and admire the lovely texture you have created.
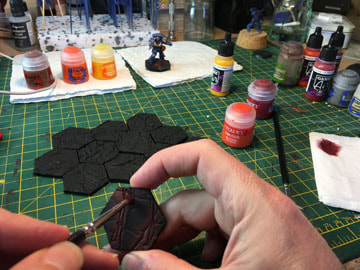
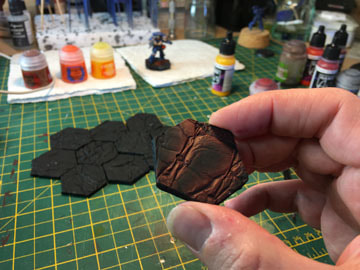
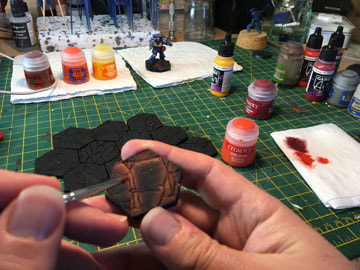
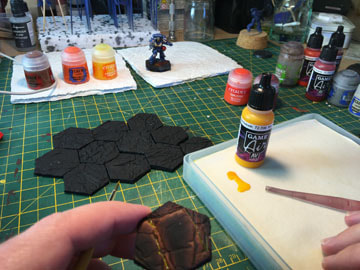
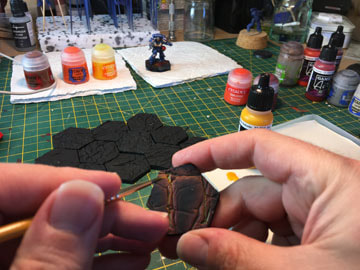
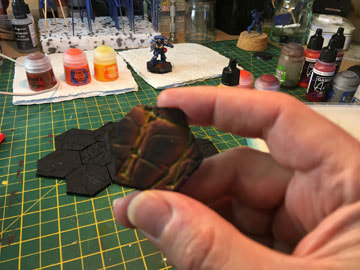
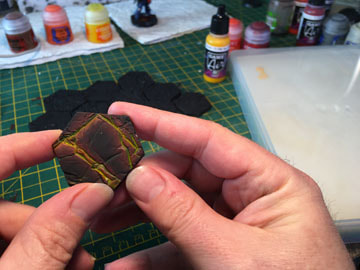
The next stage is to have a look at the bases. Pick one up and choose a couple of deeper, longer or just interesting cracks on the bases. These will be the areas where the heat might be more intense and these will be the areas we are going to liven up...
OK ... time out, and I have tried to be a grown up about this but this section needs liberal use of the words crack, deep, wet, wetting (which is a horrible word) and brush, it's a double-entendre minefield. At one point when I was making the video the many variations on the sentence "making the crack wet" loomed up in front of me, and there's definitely a pause as I try and avoid it. OK ... trying to be a grown up here.
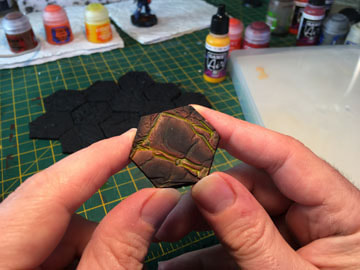
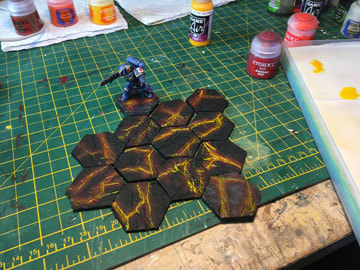
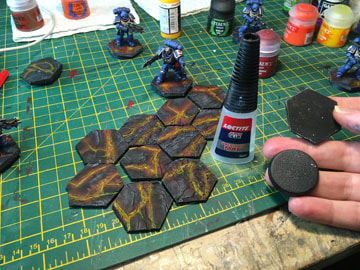
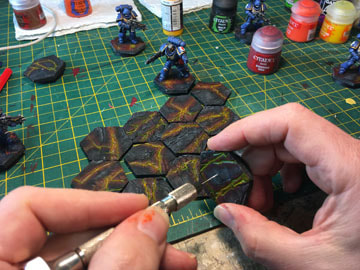
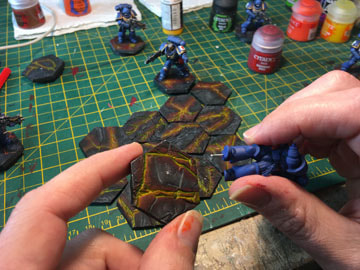
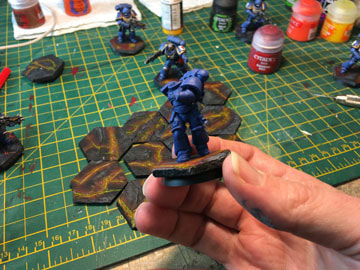
Corners, intersections and deeper bits all get the most pigment as this is where the heat flow would be highest. In truth I usually get impatient and start using just straight paint lightly added to areas wetted with water if the process is taking too long. At this stage I had completed the single base with some grey dry-brushing of the black areas (which is why it looks different). We'll use the other bases to demonstrate this bit. A word about getting miniatures onto the base next but that is (I solemly promise) the last stage. If you got this far you're probably asleep anyway...
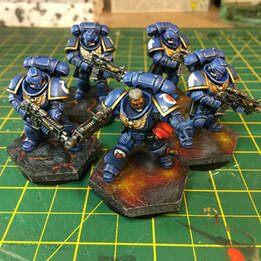
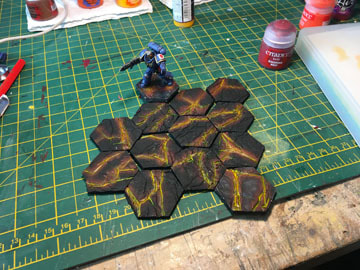
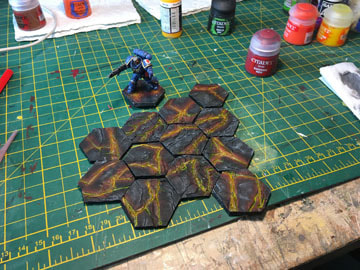
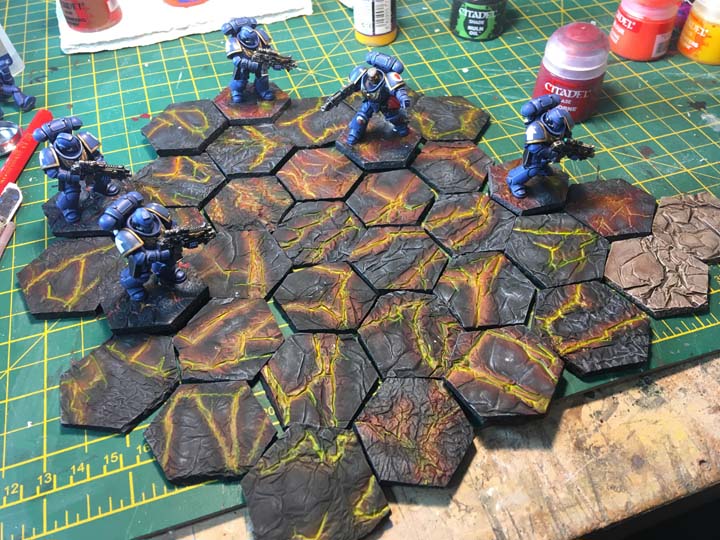
As promised that is it. I think making these little bases might be habit forming as I've made quite a few while noodling around trying to put this post together. I've tried a muddy/parched colour scheme (bottom right in the photo below) and will probably try an ice scheme too but that's it for now. Thanks for reading and if you are already asleep, sweet dreams.
1 Comment
|
Hello, I'm Jon.
I'm very much a learner model maker, especially dioramas, gaming surfaces, models and toy boxes for me and my children. Archives
March 2019
Categories
All
|


 RSS Feed
