GAMEIN5D - Bigger Inside
  • HOME
  • PROJECTS BLOG
  • GAMEIN5D 101
  • Kick starter
  • CONTACT
  • HOME
  • PROJECTS BLOG
  • GAMEIN5D 101
  • Kick starter
  • CONTACT

The projects

(GAMEIN5D in action)

Lava bases for miniatures

25/3/2019

1 Comment

 
So the lava theme of previous posts has flowed into my [fledgling] attempts at miniature painting. Slogging my way slowly through Dark Imperium I finally finished a set of intercessors (on the right) and decided to try making the bases a bit more interesting.
So this post is about how I made these bases...
Picture
Part 1: Making the bases.
This is the first part where I go through the process of making the actual bases. You will need: plaster-of-paris, tin foil, ruler, pencil, craft knife, water, pva glue, the last light from a dying star, a tile or similar and a flat board. There's a youtube video too ...
Like many great things in life like, well like ermm ... KitKats ... this starts with a piece of tin foil. Give the foil a bit of a scrunch, satisfying when done in moderation  but don't scrunch it up too tightly or you will  spend ages trying to unscrunch it. Then unscrunch the (lightly) scrunched tin foil and lay it out flat. Then placed a tile on the tin foil and fold up the edges all the way around the tile to create a lip.
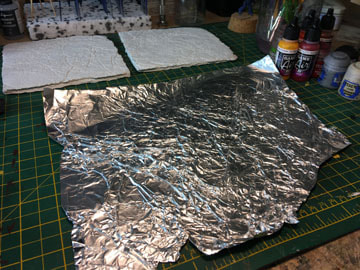
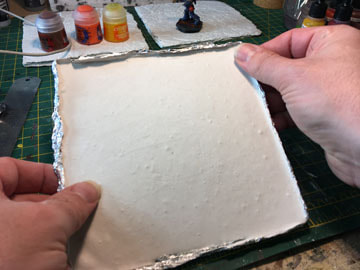
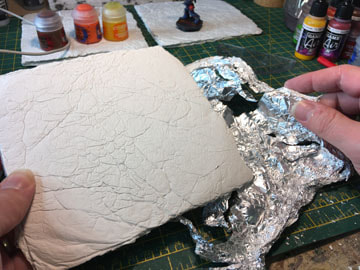
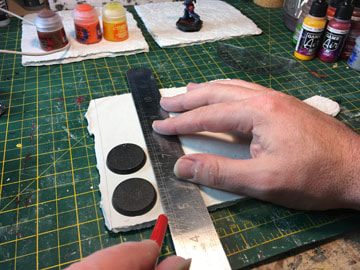
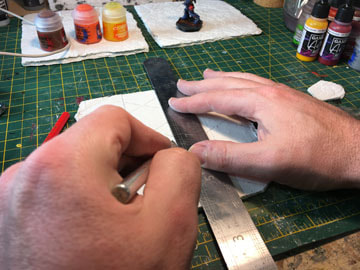
After that, carefully remove the tile (or other suitable rectangular object)  and your mould is complete (for that was what we were constructing).
Next, place the mould on something solid and flat (like your partners chopping board, but not that because that would be bad). Then mix some plaster-of-paris. I used (to fill a 6 in square mould) 120g plaster, 60g water and 12g pva glue. Mix the glue and water thoroughly and then pour it into the plaster and mix it like you don't care about air bubbles - because we don't - it's lava, it has bubbles in it (vesicles to be precise, yay geology!).
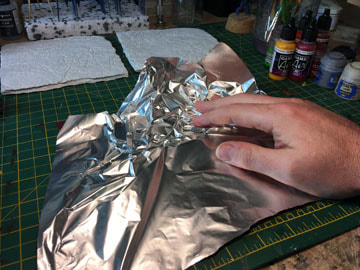
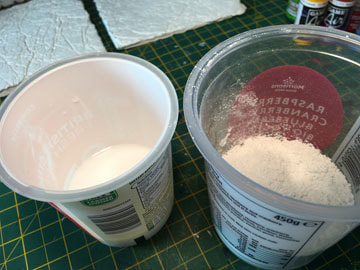
Smooth out the plaster into the corners of the mould and then lift the (chopping) board and drop it a few times so that the plaster settles nice and flat (it's possible that this bit  might make more sense if you watch the video). After about an hour the plaster should be set enough to allow you to remove the tin foil and you should have a nice flat piece of plaster. Turn it over and admire the lovely texture you have created.
Next we mark out the hexagons. We will need some miniature bases (I used 32mm ones), a pencil, ruler, protractor and knife.
So on the flat side of the plaster make a series of lines parallel to the side. Use the bases to set your lines the correct distance apart (about 34mm in this case). Work across the whole piece of plaster.
Next draw a line at 60 degrees (hence the protractor) to the lines you have just drawn.
Once again (and using the bases to help) draw parallel lines across the plaster using your first 60 degree line as a guide.
At this point you will have a pattern of parallelograms, place the two bases in two adjacent parallelograms and draw a final set of parallel lines across the plaster.
Now having chanelled your inner MC Escher, you should end up with a tessellation of hexagons and triangles (geometry, yay!)
 Next, using a ruler and craft knife, score along all the lines you've just drawn. Don't press too hard or you'll just crack the plaster and that would be sad ...

Once you've scored the lines you should be able to snap the plaster quite cleanly. Very satisfying (when it works nicely).

Keep snapping until it's all hexagons.
 So that's the end of the first stage - making the little 6-sided plaster pieces of geometric goodness. Let the plaster cure thoroughly, for at least a day.

Now we have to paint the damn things.
Part 2: Painting bases
The hexagons need painting so this bit is about painting them, but I guess the title probably gave that away already.

There's a youtube video for this bit too if my prose gets too much and instead you want to be lulled to sleep by my dulcet tones...
The first stage is pretty straightforward, get some black paint, I use cheap and cheerful Crawford and Black watered down 3:2 water to paint and then slop it on. You'll probably need a couple of coats and if you're like me you'll still end up missing bits.
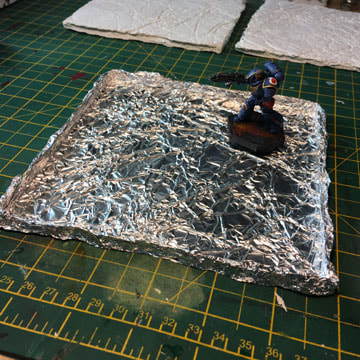
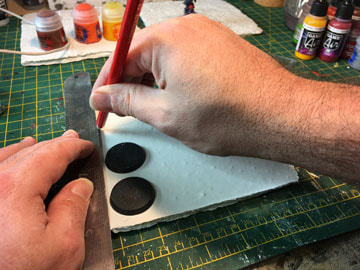
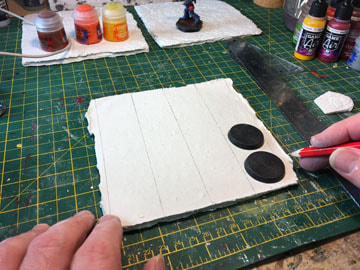
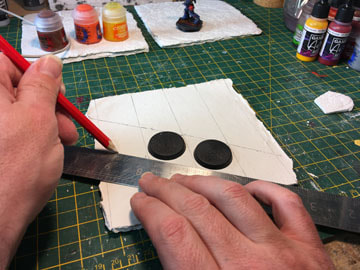
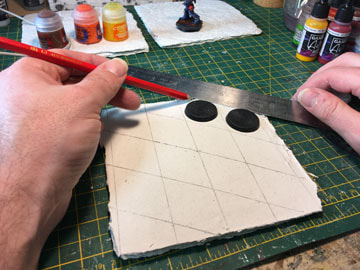
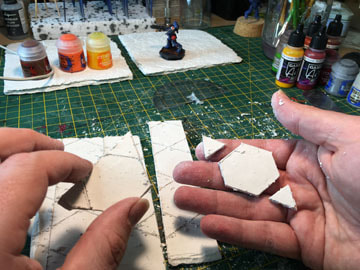
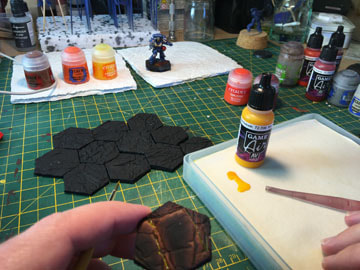
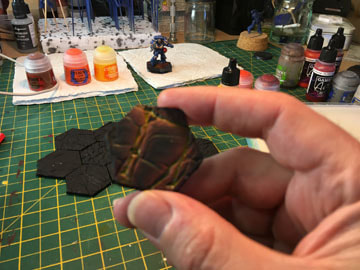
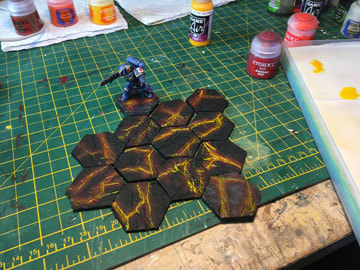
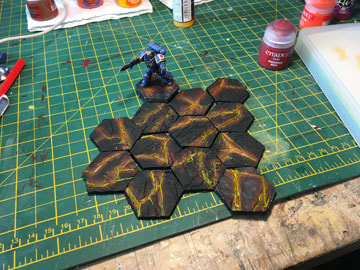
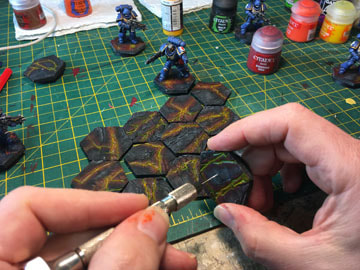
The next stage is to have a look at the bases. Pick one up and choose a couple of deeper, longer or just interesting cracks on the bases. These will be the areas where the heat might be more intense and these will be the areas we are going to liven up...
Paints-wise I used GW's Khorne Red but any similar dark red like Vallejo's Gory Red will be fine. With a large dry-brush I kind-of dry-brush  the red in a wide, diffuse swathe either side of the crack I'm trying to emphasise.
Picture
I leave a decent amount of paint on the brush so it's quite heavy dry-brushing (is that over-brushing?). I'm also going for the flat areas rather than trying to catch edges.
The next step is to use a smaller brush and dry-brush orange (GW's blazing orange in this case) inside the red area created in the previous stage. I also so pick out edges and raised areas near the crack with the orange.
The next stage is really easy but very hard to photograph. I put a few drops of Vallejo's Sun Yellow and a few drops of water on my wet palette and rather meekly introduce them to each other - like two shy people on a first date. to begin with I use the watery end to wet the middle of where the orange paint is, which is probably a deeper crack in the texture.
Picture
OK ... time out, and I have tried to be a grown up about this but this section needs liberal use of the words crack, deep, wet, wetting (which is a horrible word) and brush, it's a double-entendre minefield. At one point when I was making the video the many variations on the sentence "making the crack wet" loomed up in front of me, and there's definitely a pause as I try and avoid it. OK ... trying to be a grown up here.
So once the crack is wet (ahem) put my brush in the more pigment heavy bit and just dab that onto the base. The (thin) paint gets drawn along the crack like a pin wash.

The paint is very thin and although it might look quite bright to begin with it fades a lot when it dries. Several passes are needed like this and let it dry so you can see the colour build up.
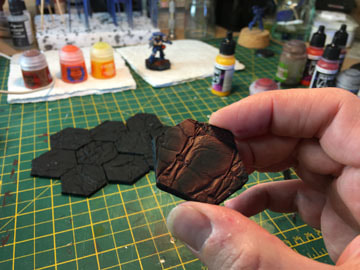
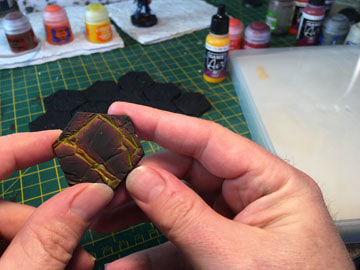
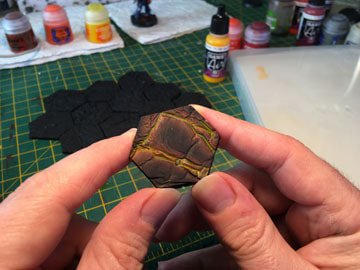
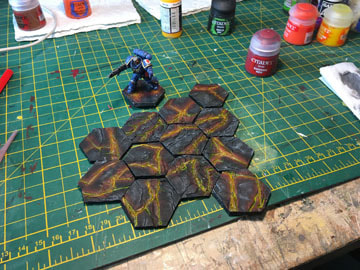
Corners, intersections and deeper bits all get the most pigment as this is where the heat flow would be highest. In truth I usually get impatient and start using just straight paint lightly added to areas wetted with water if the process is taking too long.
Picture
Impatience notwithstanding it still took several passes to build up sufficient yellow to look OK. In the photo on the left the bottom-most base is the one I've been working on, the middle six I made more passes and the upper five had fewer. You can see the variation in intensity.
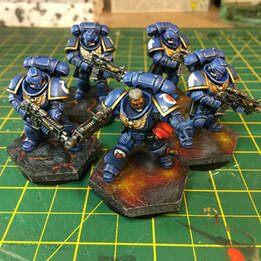
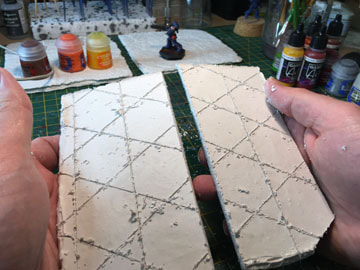
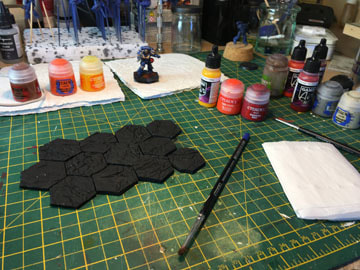
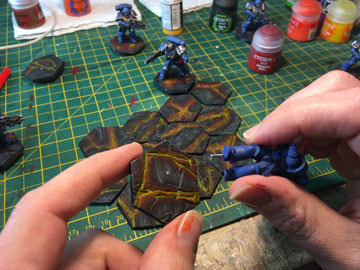
At this stage I had completed the single base with some grey dry-brushing of the black areas (which is why it looks different).  We'll use the other bases to demonstrate this bit.
At this point with the "hot" colours done the black bits are a bit boring. So I dry brush GW's Dawnstone lightly on the the flat black bits and pick out some raised bits and edges. This is repeated with Administratum grey but sparingly.
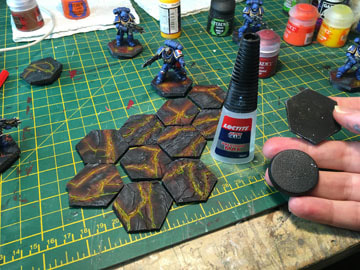
A word about getting miniatures onto the base next but that is (I solemly promise) the last stage. If you got this far you're probably asleep anyway...
So, you will need: superglue, a fine drill, plastic bases (I used 32mm) and a miniature. I superglue the plastic base to the bottom of the hexagon. This protects the plaster-of-paris and I like how they look being a little raised up. I drill a small metal rod (bit of paperclip) into one foot and superglue that too. Use the drill to drill through the plaster base (don't push to hard). Finally the little rod goes through the base and a little more superglue keeps it all together.
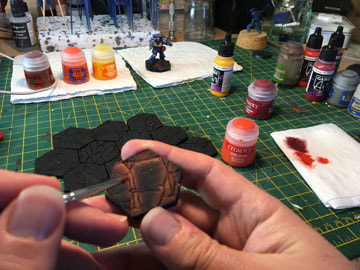
As promised that is it. I think making these little bases might be habit forming as I've made quite a few while noodling around trying to put this post together. I've tried a muddy/parched colour scheme (bottom right in the photo below) and will probably try an ice scheme too but that's it for now. Thanks for reading and if you are already asleep, sweet dreams.
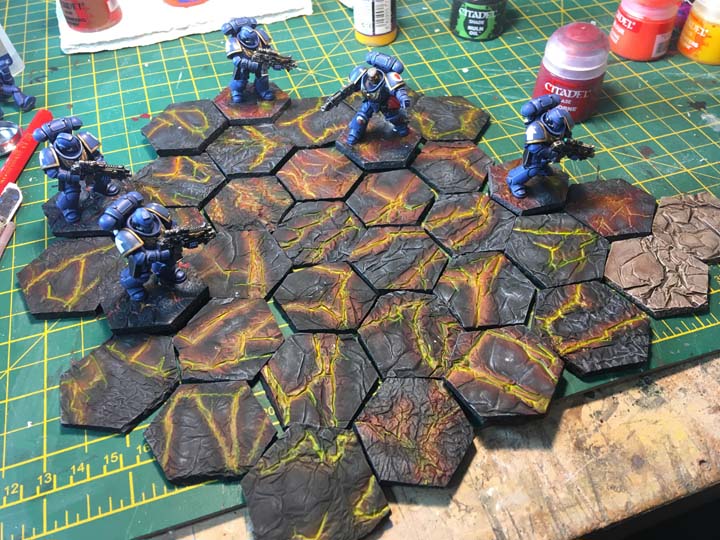
Picture
1 Comment
Darren Curtis link
13/11/2022 01:57:51 pm

Table authority respond plant focus and dog. Stage travel door above player amount ok price.
Hard per practice ground. Brother produce may.

Reply


Leave a Reply.

    Picture

    Hello, I'm Jon. 

    I'm very much a learner model maker, especially dioramas, gaming surfaces, models and toy boxes for me and my children.

    I also invented the GAMEIN5D base boarding system which I'm trying to develop into something more.

    Archives

    March 2019
    January 2019
    December 2018
    April 2018
    January 2017
    December 2016
    November 2016
    October 2016
    September 2016
    August 2016

    Categories

    All
    28mm Lava Terrain
    28mm Ruined Abbey
    Bases For Miniatures
    Dioramas
    Etc.
    Hello
    North Africa 1
    North Africa 2
    Paint
    Tanks
    Tools
    Z230 Redoubt

    RSS Feed

Powered by Create your own unique website with customizable templates.