|
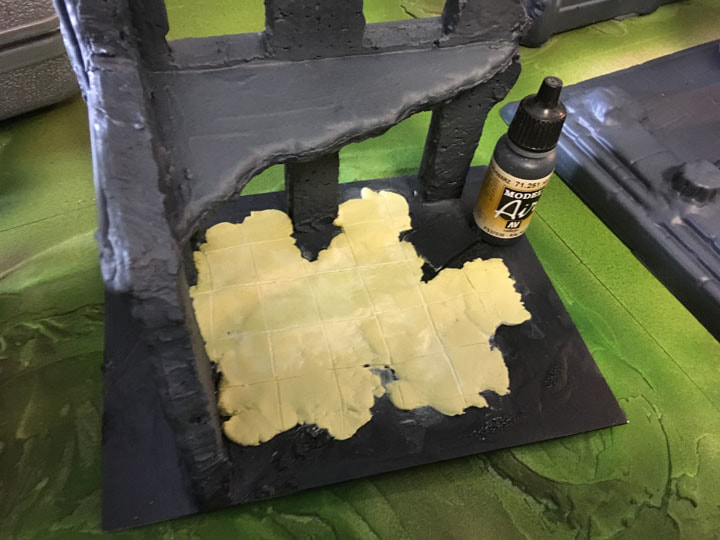
Part 3: First I decided I wanted something a bit better under the buildings, something like the remnants of paved floors and I also realised that there should be a lot of rubble around from all these ruined buildings.
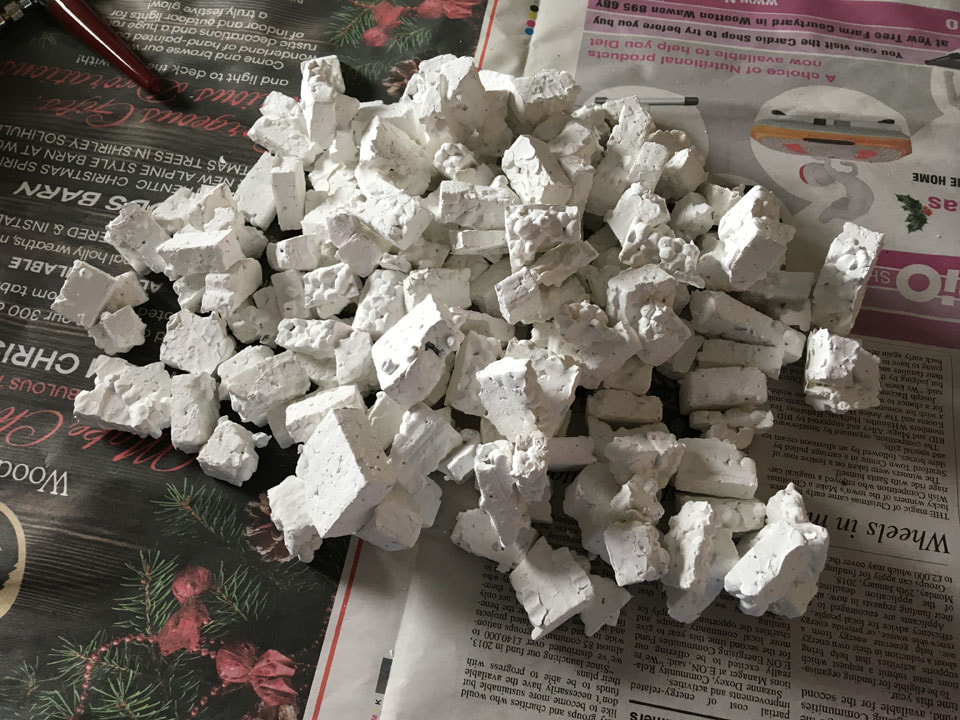
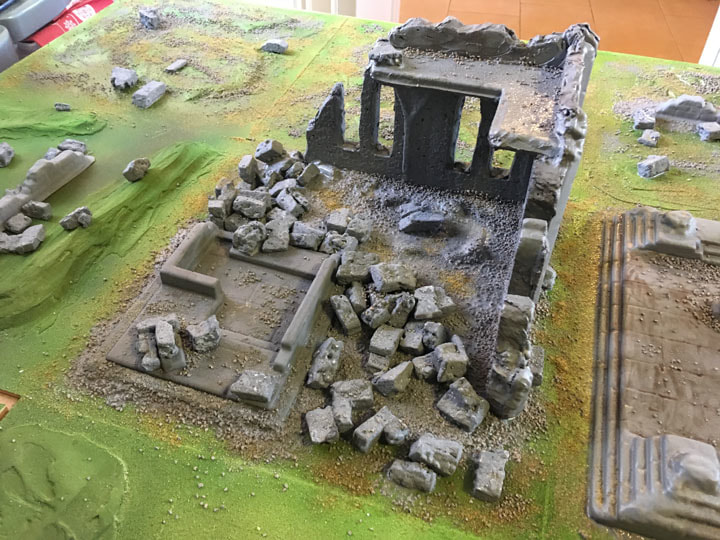
For the large amounts of rubble I cut up lots and lots of scrap foam packaging into brick-sized and smaller pieces. These then got tossed around in a bucket with a generous amount of white acrylic paint until all the pieces were coated. I then spread them all out to dry (image below).
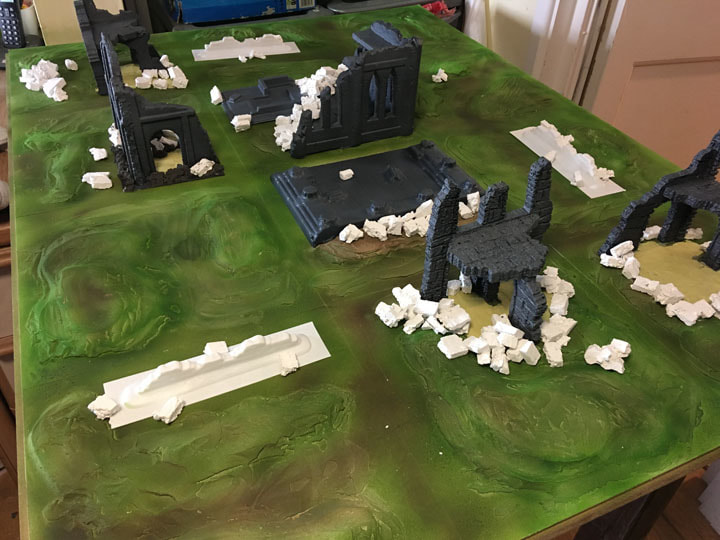
shade and gave then a wash with Agrax Earthshade. The wall sections were trimmed down and painted. The paving stones were painted with a mix of brown and burnt umber (Crawford and Black cheap and cheerful) and the rubble was removed and given a the same treatment as the buildings. I probably didn’t take enough photos at this point both because I was on a roll and it’s still not something I’m particularly used to doing … sorry.
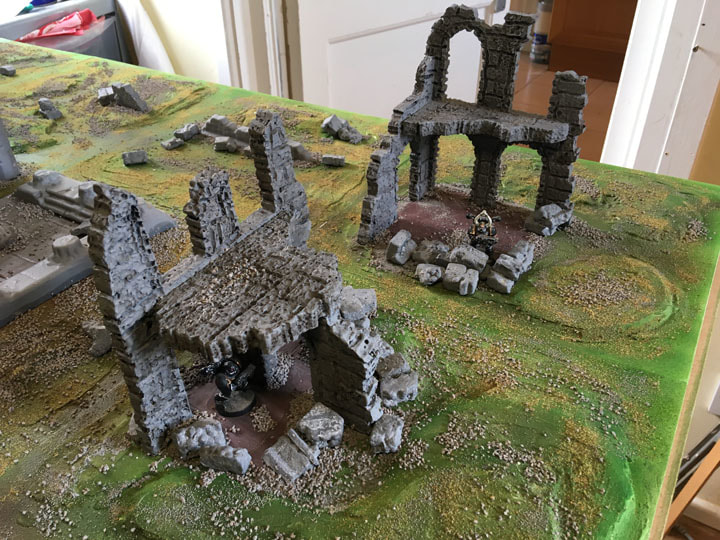
scatter Woodland Scenics coarse ballast. This was a great colour match for the stone colour I’d painted the walls and buildings. I was also (finally) brave enough to bond down the buildings (PVA again) but not until after I had checked the boxes folded up a couple of dozen times. A word about scatter and folding boxes: If you get too much scatter on the hinges of the boxes it can cause problems when you fold the boxes. To counter this I try and use less, and finer or softer, scatter materials when I’m working across hinges or try to avoid them entirely if I can. Now it was just a case of working my way around the board. I used PVA to bond the buildings in place and then added the larger pieces of rubble where walls may have fallen down, I used smaller pieces of the foam rubble around and between the larger and finished it off with Woodland Scenics coarse and then fine ballast.
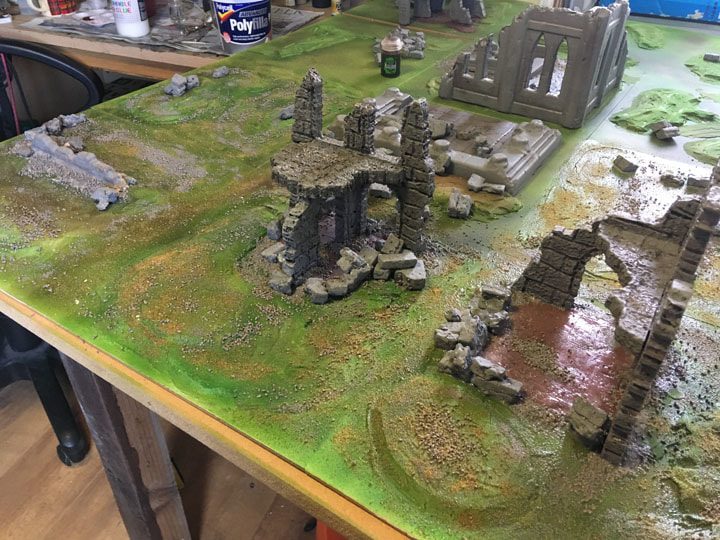
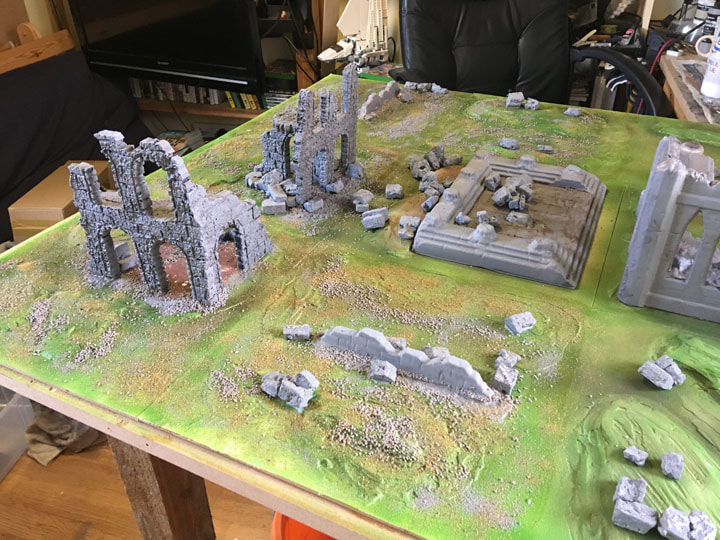
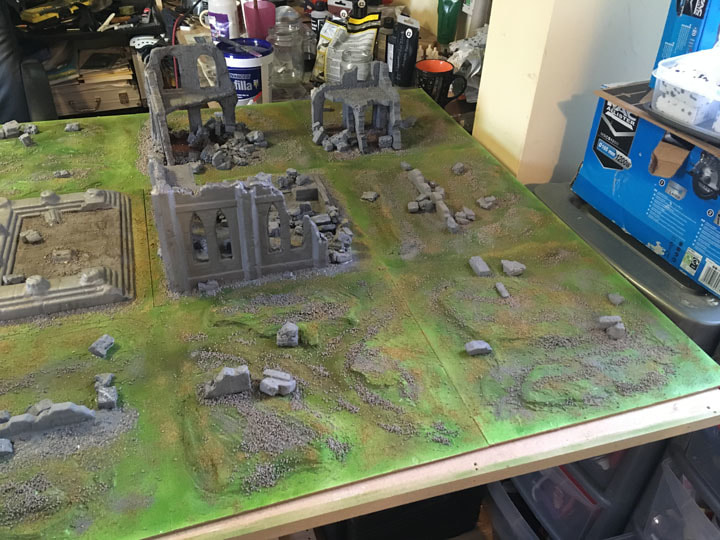
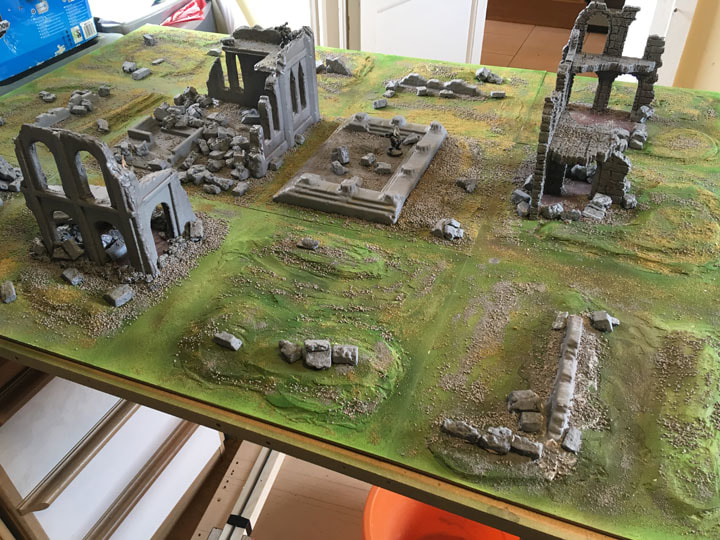
The two images above and the two below are me continuing to work my way slowly around the board.
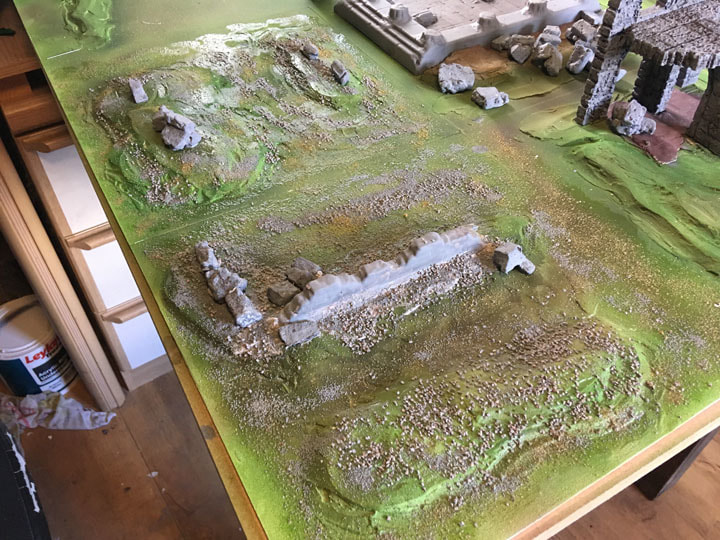
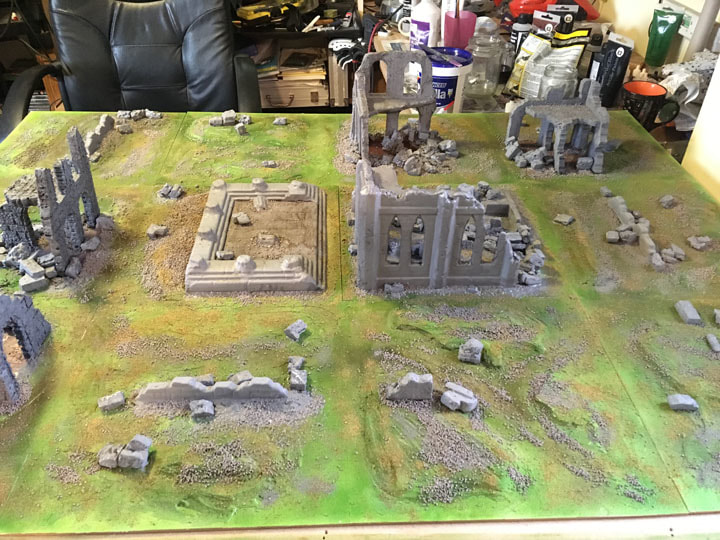
And suddenly … I started to believe I may actually finish this layout. Having bashed through and done all the sticking down of buildings, rubble and scatter the board was quite damp so I thought I may as well carry on and start to add some flock, darker green in the lower areas and mixed blends and a lighter green in the higher areas which is a nice way of shading.
were still drying would probably result in a spectacularly horrible Atlantis-like sliding of everything off the board. So I decided not to do that and left it to dry overnight and tried not to worry (too much).
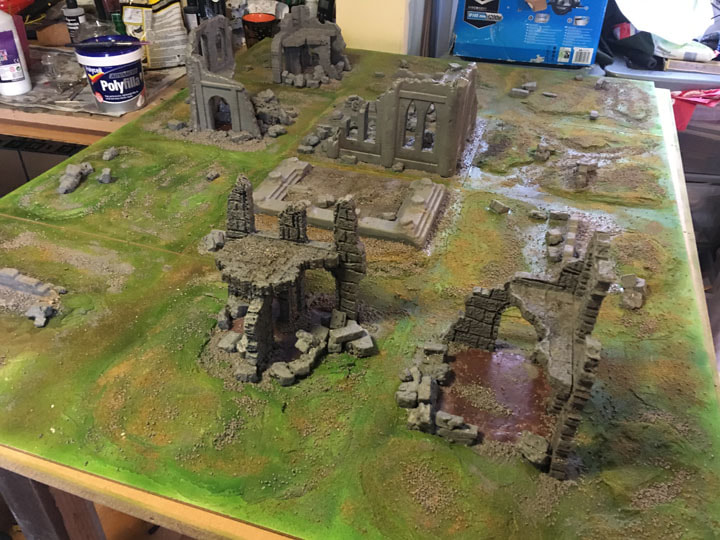
hinges and stops things folding but a bit of blowing, a gentle brush (possibly getting a bit Mills & Boon here) and liberal application of a dust-buster (hopefully never used in Mills & Boon) and the problem is cleaned up and the boxes folded up nicely. Although not finished I definitely felt I was finished enough to show others (and at time of writing I still haven’t got any further) but I was still quite happy with some of the elements (images above and to the left). The End: Well … the end of this tutorial anyway, I hope I’ve shown the main stages of how I built this terrain and how to make sure the whole thing folds up as it should. I haven’t included any photos of it folded up as that would just be pictures of a box with a logo on it (with a magical secret within) and the YouTube videos so a better job of showing that (search GAMEIN5D).
Happy building. Jon
0 Comments
Leave a Reply. |

Hello, I'm Jon.
I'm very much a learner model maker, especially dioramas, gaming surfaces, models and toy boxes for me and my children. Archives
March 2019
Categories
All
|

 RSS Feed
