GAMEIN5D - Bigger Inside
  • HOME
  • PROJECTS BLOG
  • GAMEIN5D 101
  • Kick starter
  • CONTACT
  • HOME
  • PROJECTS BLOG
  • GAMEIN5D 101
  • Kick starter
  • CONTACT

The projects

(GAMEIN5D in action)

Walls are hard

30/9/2016

0 Comments

 
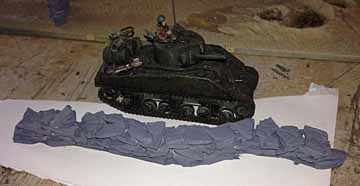
I think I will start at the end on this post. Below is the complete wall sections that I decided I needed. They are the end result of much failed experimentation and possibly the invention of some new swear words. The walls are not stuck down yet, just put in about the right place. I've no idea how everyone else builds walls but this is how I did it.
Picture
Fairly decisive failure to begin with - too much glue too early. Actually, this is well down the list of failures but pictures of me getting cross with Italeri's wall sections or getting covered in glue probably don't make for great blog posts (I may be wrong, I believe I have established my lack of expertise in these matters).
Picture
Picture
But I kept trying, there was something quite compulsive about trying to build a dry stone wall in miniature.
In the end; the method I settled on was the following. I don't for a second suggest anyone else should try this - there must be a better way. Or something on the TV.
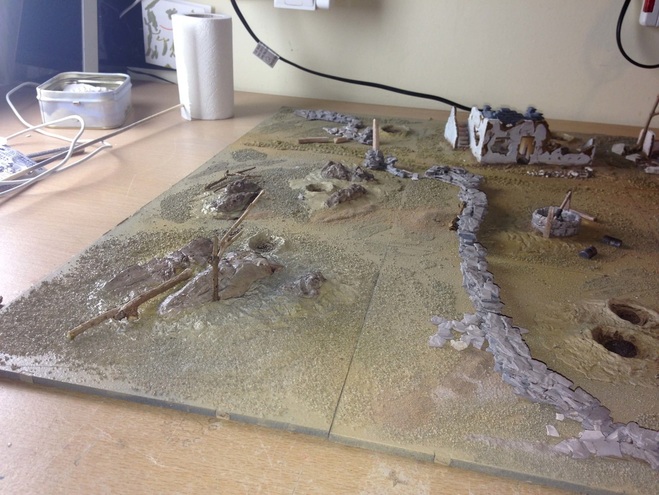
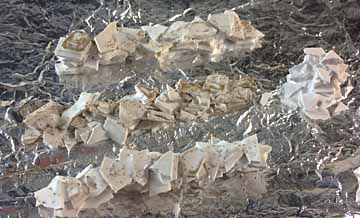
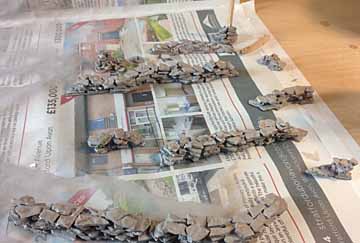
First I spread out a plaster mix about 2mm thick across a decent sized piece of kitchen foil. Once it's was dry I bashed it up, while it was tempting to unleash all that middle-aged angst and immolate it, I tried to be careful. I wanted pieces between 5 - 10mm. The foil puts a nice texture on one side which I put on top. Then the "fun" bit. I built small sections of wall on pieces of flat foil, and tried to make the pieces overlap. Like I said, quite fun really, which probably says far too much about me. And it amused my wife, who I suspect, after deciding it wasn't quite the final straw, filed it in the "future grounds for divorce" folder. 
On the last layer of wall I tried to use smaller pieces and lay them side-by -side to it looked like the wall was in two courses.
​Once the wall was built I dripped watered down PVA all over it. Again using a long needle nozzle to make sure every surface was wetted with glue. Once dry the foil peels off the bottom (mostly) and the walls are fairly robust.
Picture
Picture
I built various sections, different lengths and heights as I want some parts to be falling down. I also built some wall end sections which I want to put posts into. They got a spray with grey primer first and then I hand painted them with Golem Smeg. But they'll need more painting.
Then I plonked them on the base and took the photo. In between waiting for paint and plaster to dry I've also carried on painting the minor items, you can see some barrels, etc. on the big photo at the top too. And the privet's out of the oven, nicely dried out.
0 Comments


Leave a Reply.

    Picture

    Hello, I'm Jon. 

    I'm very much a learner model maker, especially dioramas, gaming surfaces, models and toy boxes for me and my children.

    I also invented the GAMEIN5D base boarding system which I'm trying to develop into something more.

    Archives

    March 2019
    January 2019
    December 2018
    April 2018
    January 2017
    December 2016
    November 2016
    October 2016
    September 2016
    August 2016

    Categories

    All
    28mm Lava Terrain
    28mm Ruined Abbey
    Bases For Miniatures
    Dioramas
    Etc.
    Hello
    North Africa 1
    North Africa 2
    Paint
    Tanks
    Tools
    Z230 Redoubt

    RSS Feed

Powered by Create your own unique website with customizable templates.