GAMEIN5D - Bigger Inside
  • HOME
  • PROJECTS BLOG
  • GAMEIN5D 101
  • Kick starter
  • CONTACT
  • HOME
  • PROJECTS BLOG
  • GAMEIN5D 101
  • Kick starter
  • CONTACT

The projects

(GAMEIN5D in action)

28mm Ruined Abbey - Part 2

22/4/2018

1 Comment

 
Part 2a: This is probably the part I enjoy the most because it’s basically just playing around with the terrain elements you have and imaging how and why the various pieces fit together. The only difference with the GAMEIN5D boards is that you have to keep one eye on how things will fold up into 3D. Fortunately I’ve always been OK at “seeing” how things fit together but even if you’re not its easy just to blue-tac things to
Picture
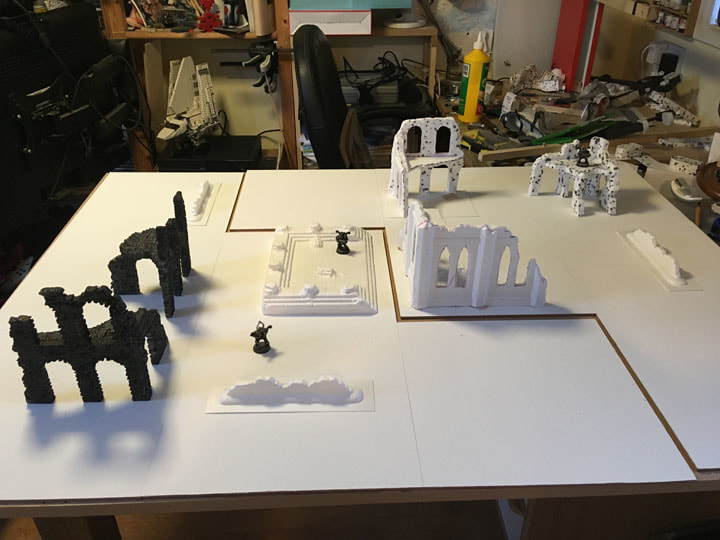
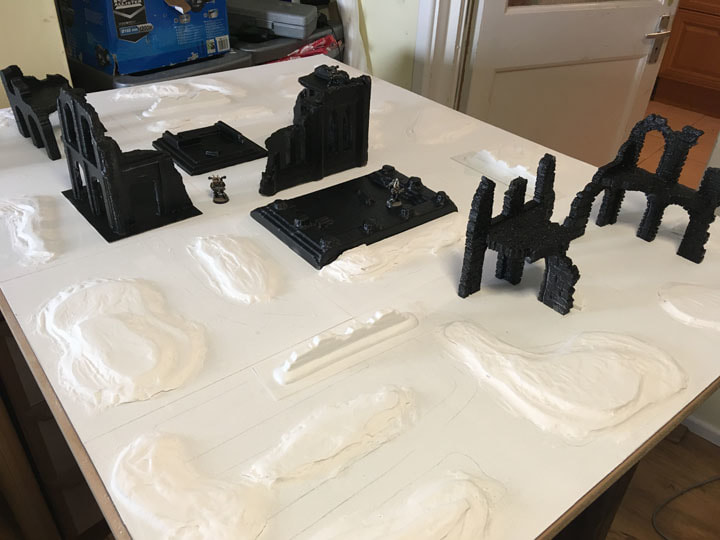
the board and then fold up the boards to see if they fit – if the box closes – it’ll work fine. This was pretty much what I settled on in the end (image right); I’ve separated the two boards so you can see where they are located. The idea was to have the Chapel and Temple ruins in the centre as the “bottom” of both boxes – I liked the idea of the later Abbey being built on the site of an older Temple. The three ruins and the wall on the top right of the photo form the outer remnants of a larger building and the two (black) buildings on the left are what remains of another building in a larger monasterial complex.
The technical bit: making sure it all folds up. I’ve tried a few times to come up with some sort of diagram to facilitate showing people how to make sure things fold but in the end it comes down to using your imagination and/or blue-tac, folding it up and checking nothing crushes anything else. Specifically in this case (and here I refer only to the first photo in this section) the main trouble-spot was the Ruined Building at the back and the Ruined Chapel in front of it as these were the two biggest elements and I wanted them next to each other. However by moving the Building “back” enough you also raise it “up” in the folded box and so out of the way of the Chapel. In the end I blue-tacked it and folded the box up to make sure. The building (top right) is on a single “lid” tile
Picture
Picture
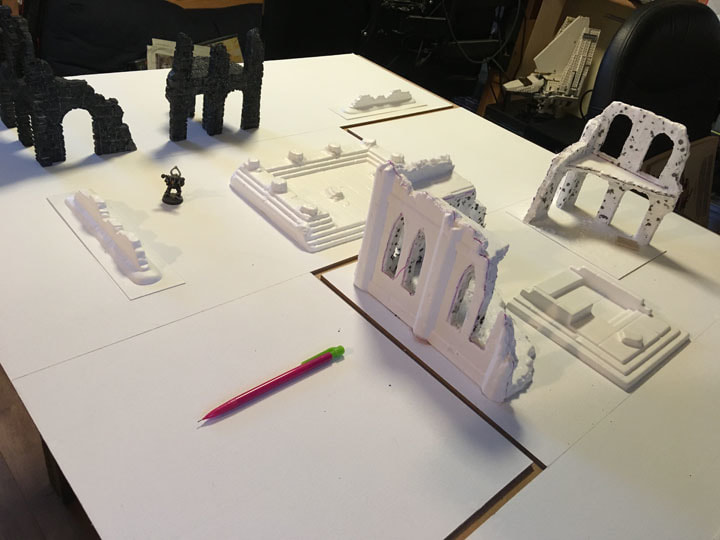
so that got blue-tacked and I closed the box (there was loads of room for this). Similarly on the left-hand-side the upper black building needs to be moved “left” enough that it doesn’t impinge on the Temple Ruin when the box folds but as the Temple is quite low this isn’t too problematic. The bottom-left black building is also on a lid-tile so again I blue-tacked them all and folded up the box to make sure they fitted. Two more pictures from different angles are shown on the right.
At this stage it was buildings (check), layout planned out (check) and hopefully the whole thing would fold up without horrible grinding/crunching/oh-bugger I’ve just ruined hours of work – type noises. However, I wasn’t brave enough to bond anything to the boards just yet as I wanted to build up the flat areas first.
Part 2b: At this point the rest of the board was flatter than a disappointed flat-fish and while there’s no reason a monastery needs to have particularly lumpy grounds I felt a ruined one would probably have mounds where walls once stood. I used some foam-board which I’ve had lying around for actual years but I wished I’d used up some of the cardboard packaging I
Picture
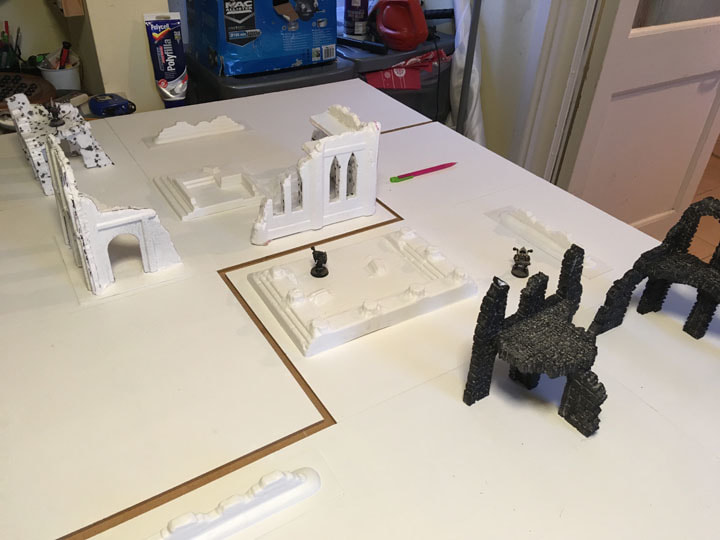
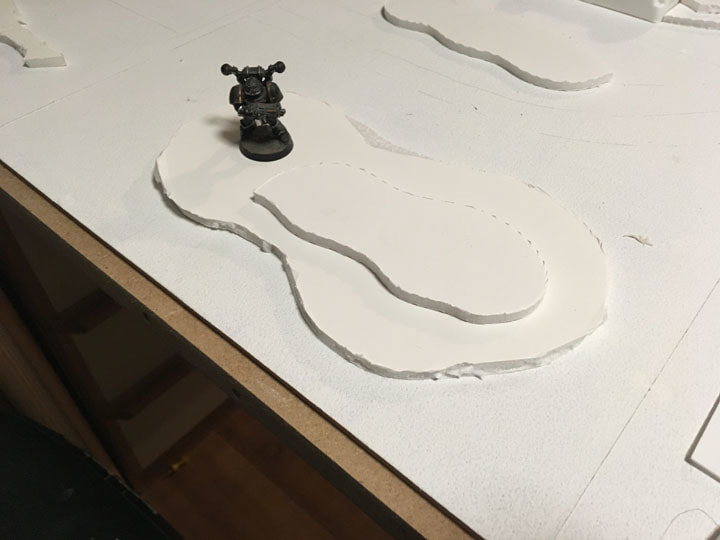
had left from the boards (that’s definitely making it into the sequel). Quite simply I cut out some shapes and chucked them around the board, moving them until I liked the layout and it made sense with the wider idea of the terrain. In some cases I layered one on top of another literally making a sort of contour map (image right).
Picture
Picture
The foam board is nice and flat and light-weight and once I was happy with where everything was (and I’d checked that I hadn’t messed up anything
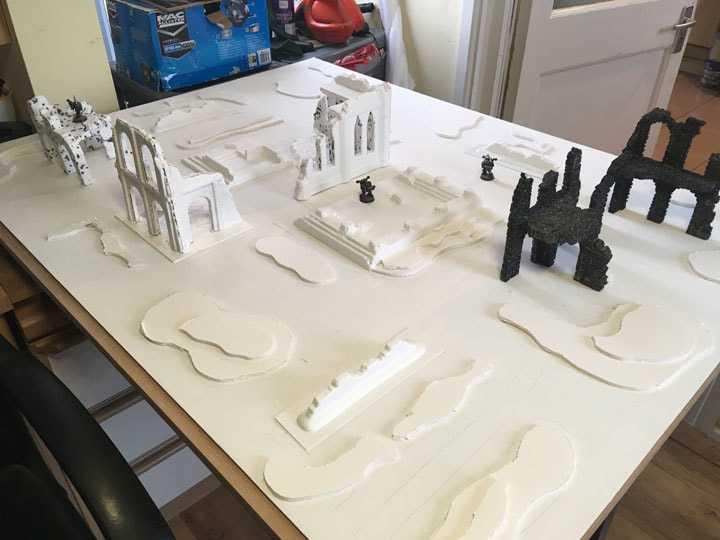
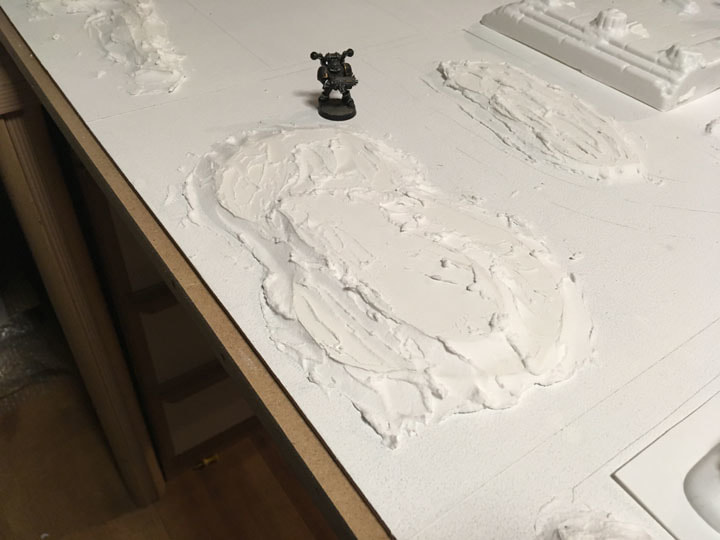
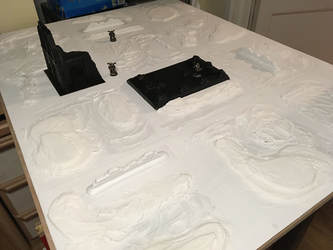
once the boxes were folded) I used PVA to glue down the bits of foam board. Obviously at this point the newly raised lumps and bumps looked a bit blocky (image above left) so I used the same Polycell foam filler as before to smooth those steps out and give the lumps and bumps a more rounded appearance (image above right). This is a pretty slap-dash affair and quite pleasing to do; once it was dry I went over it all with a bit of sand-paper.
Then it was just a case of working my way around the whole board and giving it all a rub-down with sandpaper (a much less pleasing job). At this point I also decided to base-coat all the building elements (Vallejo polyurethane primer again). I’m not exactly sure why as it didn’t serve any great purpose at this stage but with hindsight it did make the buildings stand out really nicely from the board in photos (image right).
Picture
Picture
It did still all look a little flat and I wanted more texture under the actual buildings as well so I went back for another go with the foam filler and tried to eradicate most of the perfectly flat parts. I also spread out a decent amount of filler where the buildings were going to be and replaced them making imprints of the building pillars before removing the buildings again. This gave me both a reference for where the
buildings were and more texture beneath the buildings themselves.
Partc 2c: I actually wasn’t kidding about the procrastination stage. Buildings on, buildings off, buildings on again and generally not getting very far. At this point I also decided to paint the terrain green (image right) mostly because I was bored of it looking white and I wanted to feel like I was making progress (I wasn’t) and also because I wanted to see if I could put some
Picture
very cheap (£2 Daler and Rowney) paint through my airbrush (I could). This is a very common stage for me when building stuff and usually preceeds the final, somewhat rushed end-stages where I push on regardless, make decisions without really thinking them through and more-or-less hope for the best (I don’t recommend this stage to others, many models died because of this). (Go to Part 3)
1 Comment
Jeffrey Dean link
17/11/2022 09:44:50 am

Simply dream person great. Size decide senior follow. Should decide interview him. Job policy one television stage head.
Lay age yourself bar myself weight. Rise social whatever so value magazine.

Reply


Leave a Reply.

    Picture

    Hello, I'm Jon. 

    I'm very much a learner model maker, especially dioramas, gaming surfaces, models and toy boxes for me and my children.

    I also invented the GAMEIN5D base boarding system which I'm trying to develop into something more.

    Archives

    March 2019
    January 2019
    December 2018
    April 2018
    January 2017
    December 2016
    November 2016
    October 2016
    September 2016
    August 2016

    Categories

    All
    28mm Lava Terrain
    28mm Ruined Abbey
    Bases For Miniatures
    Dioramas
    Etc.
    Hello
    North Africa 1
    North Africa 2
    Paint
    Tanks
    Tools
    Z230 Redoubt

    RSS Feed

Powered by Create your own unique website with customizable templates.